Microstructural Analysis
MICROSTRUCTURAL ANALYSIS OF SURFACE/SUBSURFACE DAMAGE
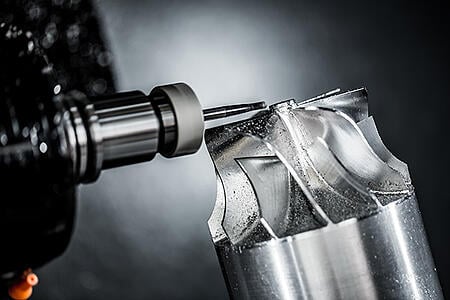
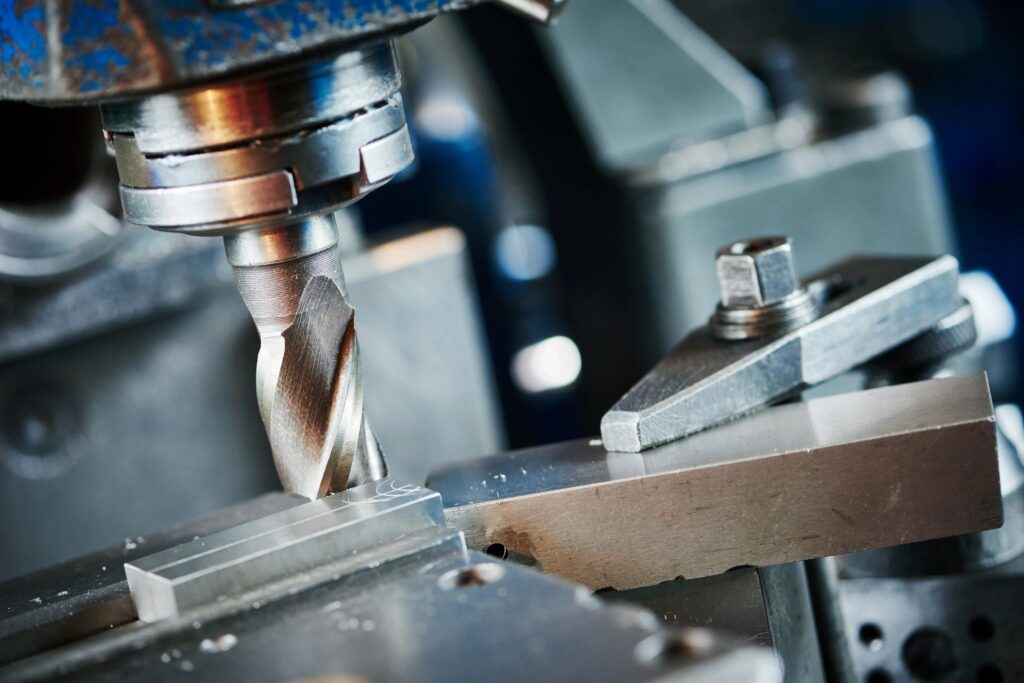
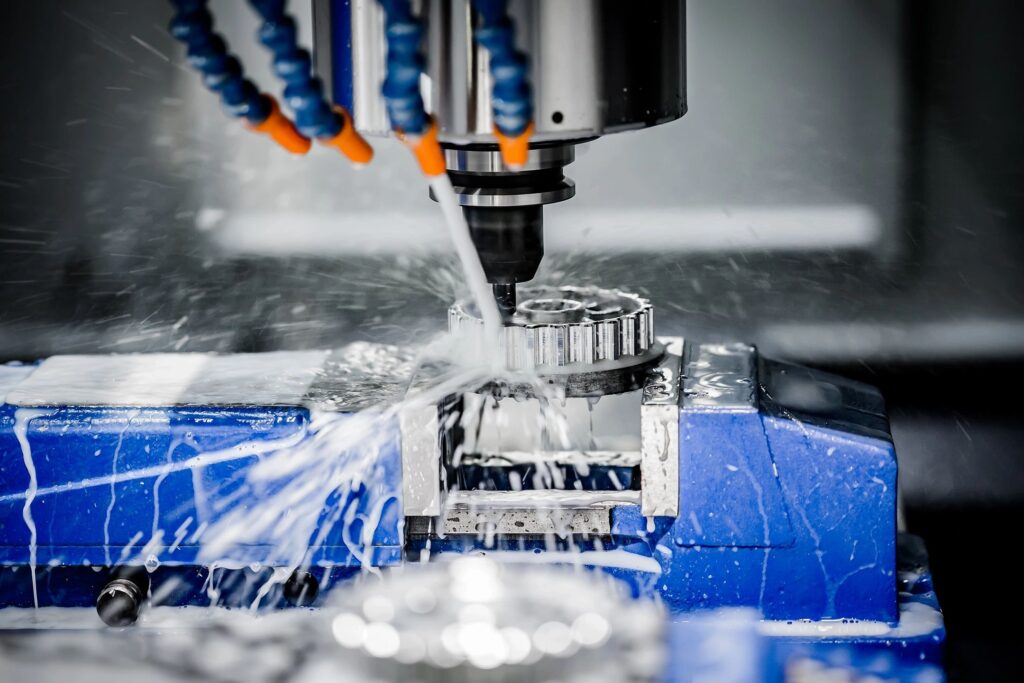
Aggressive and abusive, out of tolerance, machining conditions can cause surface and subsurface damage to the machined component. Improper material feeds, speeds, or dulled tooling can leave high-stress areas where cracks can initiate. Although the damage may be subtle, these very small defects can result in distortion in the microstructure, which can lead to failure of the part or component, resulting in premature repair or replacement.
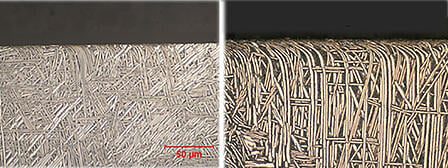
Microstructural analysis specializes in evaluating machined surfaces for evidence of damage. IMR Test Labs has the ability to perform the high-precision sample preparation needed to be able to resolve the subtle near-surface distortion and damage characteristics of non-optimal machining conditions. IMR Test Labs has a number of highly trained and experienced metallographers in all 5 of our labs.
Signs of Surface and Subsurface Damage Revealed by Microstructural Analysis
Fatigue Cracking
Fatigue cracking typically has a distinct crack pattern, either transgranular or intergranular.
Laps and Tears
Laps and tears are separations in the material caused by improper machining and mechanical stress.
Grain Distortion
Grain distortion occur due to material deformation or other stress factors.
White Layer
Caused by excessive heat during machining, white layer is a deformed or hardened layer on the surface of a material.
Strain Lines
Localized areas of deformation, in the form of lines or bands.
Phase Transformations
During machining, phase change may occur, either by formation of a new phase, or changes in crystal structure which indicates damage or altered microstructure.
Microstructural Inclusions
Impurities, such as non-metallic particles or foreign substances within the material, can impact the integrity of the component.
Porosity
Porosity is a defect in the material, which can compromise both mechanical and structural properties.
Microstructural Analysis - Components Testing
Components commonly used in turbomachinery need to be microstructurally tested after aggressive machining.
Disks - One of the main elements of turbomachinery, these circular components are made of strong materials to withstand stress during operation.
BLISKs - A solid component of the rotor disk and attached blades, BLISKs are lighter, more aerodynamic, and more reliable than the components as separate parts.
Blades - Extracting or imparting fluid within a turbomachinery system, blades can be found in many parts of the system, such as the fan, turbine, or compressor.
Shrouds - Outer covers of turbomachinery blades provide support, create aerodynamic operations, and prevent blade contact.
Nozzles - Accelerating or decelerating the flow of fluid, nozzles can be found in turbomachinery in the outlet, inlet, within compressors or turbines.
Vanes - Components for fluid flow guidance, between rotating blades, to increase or decrease velocity.
Seals - An important component of ensuring system integrity, seals prevent leakage of fluid, which helps maintain fluid flow and mitigate energy loss.
Casings - Outer components that enclose and protect the internal components of a turbomachinery system.
Shafts - The mechanical power connection between the rotor and rest of the machinery, the shaft is paramount in the overall function of the system.
Couplings - Couplings join the shafts together, transmitting torque.
Manufacturers of critical components such as disks, blisks, blades and shrouds rely on IMR Test Labs. For more information on IMR's microstructural subsurface analysis capabilities, click the button below to contact us.

Carburization
Case Depth
Certified Weld Inspections
Coatings Evaluations
Coating Thickness by SEM, Cross Section
Case Depth
Depth of Decarburization
Determination of Delta Ferrite Content
Determination of Volume Fraction by Point Count
Effective Case Depth
Failure Analysis
Fastener Discontinuities
Fluorescent Impregnation of Porous Coatings
Fractography
Fracture Mechanics
Grain Size
Inclusion Content/Rating
Intergranular Attack
Intergranular Oxidation
Light Microscopy - Macro, Micro & SEM Photography
Macroetching
Microetching
Microhardness (Knoop, Vickers, MacroVickers)
Microstructure
Orientation in Microstructure
Particle Analysis (Distribution, ID, Size)
Phase Volume Determination
Pipeline Integrity
Plating Evaluations
Plating Thickness
Porosity of Metals, Ceramics & Composites
Prior Austenitic Grain Boundary Determination
Replication (ASTM E1351)
Quantitative Image Analysis
SEM-EDS
Surface Evaluation (Dubpernell Active Site Test ASTM B456 Appx 4)
Surface Topography
Thermal Spray Coating Analysis
Titanium Beta Transus Determination
Weld Qualification & Testing
Microstructural Analysis for Aerospace Industry
Surface and subsurface damage to components is of particular concern in the aerospace industry, where components are critical and subject to very stringent safety requirements. Microstructural analysis can microscopically assess the microstructure of the material, mitigating several threats, including:
Fatigue Life - Aerospace materials are expected to perform in high-stress environments. Fatigue life is affected by aggressive machining, which causes stress concentrations, tears, or roughness. Compromised fatigue life is detrimental to aerospace parts.
Structural Integrity and Performance - Any compromise of a component's material structure, even at the microscopic level, reduces its structural integrity. Aerospace components are subject to aerodynamic high airflow, which is adversely affected by any surface damage from machining, such as tool marks or irregularities, decreasing efficiency.
Quality - The aerospace industry is subject to standards and certifications. Damage due to aggressive machining leads to inaccuracies, resulting in non-compliance with standards.
RELEVANT ACCREDITATIONS
Pratt & Whitney 7b
Click here for a complete list of accreditations and certifications for all IMR Test Labs locations.


