XRF TESTING SERVICES
XRF analysis is a non-destructive technique capable of semi-quantitative analysis, alloy ID and RoHS screening.
How XRF Testing is Performed
X-rays are emitted from the miniature X-ray tube in the analyzer and strike the sample, knocking electrons out of the innermost orbitals. Electrons from outer orbitals move into the vacated spots to stabilize the newly created ion, and in the process emit energy (a secondary X-ray photon) that is characteristic to each specific element. This phenomenon is called fluorescence.

XRF Testing - Quantitative Analysis of Materials
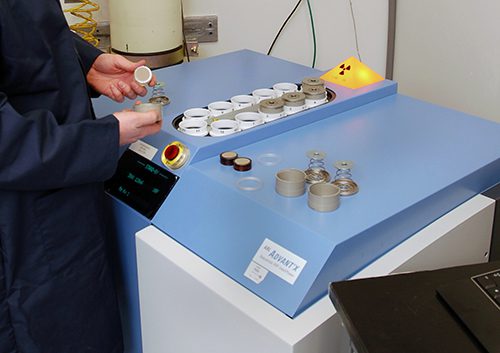
Wavelength-Dispersive X-Ray Fluorescence Spectroscopy (WD-XRF) offers the compositional analysis of various metals. The method requires a solid sample able to cover a 29mm diameter opening; however, smaller samples can be accommodated. Note that some light elements (such as boron, beryllium, etc.) cannot be detected via this method.
METALS
- Iron
- Aluminum
- Magnesium
- Titanium
- C0?
- Copper
- Nickle
- Chromium
- Bromium
- Lead
- Cadmium
- Mercury
NON-METALS
- Polymers
- Liquids
- Soils
Click on the button below to request a quote, or discover more information on IMR's XRF capabilities.


XRF Testing- Featured Benefits
Timeliness
XRF Testing can be performed quickly, delivering an accurate quantitative analysis on a wide variety of materials
Non-Destructive
XRF Testing is performed with no adverse effects to the material sample
Portable
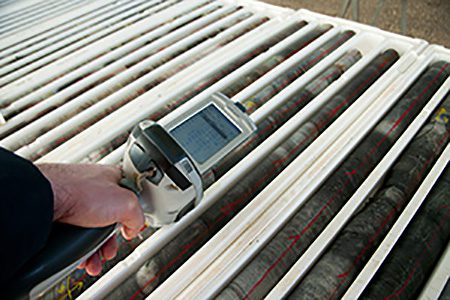
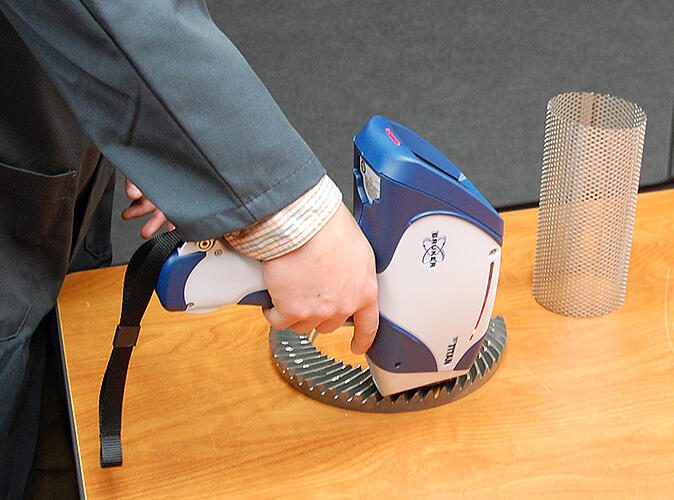
The analyzer can be used in the hand-held mode or in the integrated test stand. The unit is portable which allows for on-site testing.
Economical
XRF Analysis is less expensive than ICP Testing.
XRF Testing FAQ's
XRF analysis is a non-destructive technique capable of semi-quantitative analysis, alloy ID and RoHS screening.
XRF testing can be performed on metals such as iron, aluminum, magnesium, titanium, copper, nickel, chromium, bromium, lead, cadmium, and mercury. XRF testing can also be approved on non-metals, such as polymers, liquids, and soils.
XRF is non-destructive and can be performed on a large variety of materials in various physical states. The testing can be performed quickly and is highly accurate.
Alloy Chemistry
Antimony Analysis (ICP)
Cadmium Analysis (ICP)
Carbon, Sulfur, Hydrogen, Oxygen & Nitrogen
Contamination ID
Contaminant/ Corrodent Analysis
Filler/Additive Analysis
FTIR
Halogen Analysis (IC)
Heavy Metals Analysis
Hex Chrome (UV-VIS)
ICP-AES Analysis
ICP-MS Analysis
Impurities Analysis
Ion Chromatography
Material Certification
Metal Purity
OES Analysis
On-site PMI
PMI Testing (Positive Material ID)
Particle Size Analysis
Percent Crystallinity
pH
Polymer Testing
Powder Diffraction
Powdered Metal Analysis
Precious Metal Assay
Quantitative Analysis
Resistivity (ASTM D1125)
SEM-EDS
Semi-Quantitative Analysis
Trace Element Analysis
Unknown Alloy Identification
Unknown Material Identification
XRD Analysis
XRF Analysis
RELEVANT ACCREDITATIONS
Click here for a complete list of accreditations and certifications for all IMR Test Labs locations.
XRF SAMPLE REQUIREMENTS
The instrument aperture (or window) is about 5 mm in diameter (about the size of a pencil eraser). Samples as small as half this size can be individually analyzed easily, and even smaller samples can be analyzed as long as enough multiple parts are provided. Powder samples can be analyzed by placing enough powder to thoroughly cover the aperture in a clear plastic bag. Samples should be at least 5 mm thick for polymers and 1 mm thick for metal alloys to prevent the X-rays from completely penetrating through the sample.


